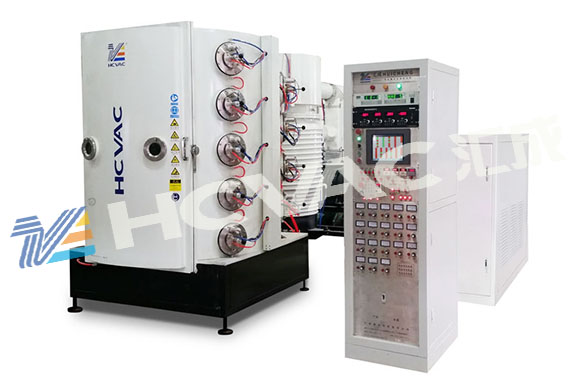
Fully considering that the domestic pvd coating machine is still mainly based on crystal control operation, the number of coating layers is small, the center wavelength positioning is poor, there is no automatic light control system, high voltage instability and other defects are designed and developed high-precision automatic light control system. , The number of continuous coating layers can reach 100 layers, which greatly improves the qualified rate of coating products, and is especially suitable for monitoring various film systems including non-regular films.
This system introduction consists of 4 chapters:
Chapter 1: Introduction of optical signal interface functions;
Chapter 2: Introduction of film interface functions;
Chapter 3: Operation steps of light control system;
Chapter 4: Precautions and computer connection diagram.
Chapter 1: Optical Signal Interface Function
1. New - Open - Save - Save As - Exit.
2. Edit - cut, copy, paste, delete.
3. View. Check out the 360 Bill of Materials - Averaging to homogenize the optical signal curve.
4. Help. System documentation includes viewing the system serial number.
5. Action. Transport the film to 360-collect the optical signal.
6. Open. Opens the archive dialog.
7. Stop. Stop the computer to collect the light signal of the film thickness meter. It is prohibited to use during the coating process.
8. Properties. It is divided into three parts: optical signal, control system and other parts.
9. Exit . Refers to exit the control system and return to the desktop.
10. In the table. The vertical X is the reflectance or transmittance in percent. The horizontal Y table is the time unit in seconds S.
11. Below the table. The reflectivity or transmittance has a digital display.
12. The right side of the table displays the current layer data during the coating process.
Chapter 2: Film input interface function
1. The nine functions of File, Edit, View, Help, Action, Open, Stop, Properties, and Exit are the same as those in Chapter 1.
2. The blue part on the bottom of the film input interface requires manual input of the design film data, and the rest of the columns are automatically calculated and displayed by the computer.
3. Monitor the first column of the table. Material - Refractive Index.
4. The table column is erected on the left side of the table.
5. Materials referred to in the table from the second column-refractive index-monitoring wavelength-optical thickness-monitoring bit-rate-pre-coating-physical thickness-coating time-starting direction-theoretical minimum-theoretical maximum-starting point-stopping point - Number of extreme points.
6. The air refractive index in the last column of the film layer - refers to the refractive index of air.
7. The bottom layer of the film input interface. Insert-Delete-Apply-Mock.
Chapter 3: Light control operation steps
1. The use of the new vacuum coating machine must first confirm the correct connection of the light control system line, then turn on the computer host, the monitor power supply, enter the desktop, and insert the dongle into the computer USB port.
2. Double-click optical-monitoring to log in to the operating system, and use the mouse to click "Film" to enter the film interface, and click the "Action" menu to select collect optical signals to collect optical signals and check whether the signal source meets the needs of the optical control system. On the contrary, it is necessary to adjust the optical path signal and meet the needs of the optical control system. The dry sound ratio cannot be greater than 0.3.
3. Click "Film" to enter the new film input interface or click "Open" to open the light control file and select the desired file. Click "Insert" to select the number of blank layers required for the process. In the blue bottom part, you need to enter the new film data. Click "Apply" and the computer will automatically calculate the parameter values of the white background part of the blank. Open "File" and click "Save" to save the new film data. Then click "Simulate" to get the theoretical analog optical signal waveform. If there is a problem with the input film data parameters, click "Apply" and the computer will display red at the bottom of the wrong data or exit the control system and return to the desktop. If there is red at the bottom of the data, it means that there is a problem with the input process parameter data. The input process parameters must be carefully checked and corrected before they can be used, or the process film system data needs to be re-entered.
4. When everything is ready, click "Start Coating" to enter the automatic control coating state.
5. The semi-automatic system will pop up a small dialog window before starting the coating. The required wavelength is required to be adjusted as soon as possible. Click the "OK" coating machine to start the coating.
6. The semi-automatic system will also pop up a small dialog window during the vacuum coating process, asking to change the position of the monitor film as soon as possible and manually adjust the position of the monitor film as soon as possible. After clicking "OK", the system will automatically and continuously coat.
7. The semi-automatic system will repeatedly pop up a small dialog window during the vacuum coating process, and repeat the operation according to the above 5 or 6 steps.
Chapter 4 Precautions and Computer Connection Diagram
1. The noise ratio of the collected optical signal should be less than 0.3. The smaller the noise ratio, the better the stability of the light control system. Otherwise, the light control system may not work normally.
2. The monitoring method of SWA-I-05 is the extreme value method, which requires that each layer of film must pass at least one extreme value point.
3. The resistance to ground of the
pvd coating machine and light control system is required to be ≤4Ω
4. The "red dot" in the optical signal waveform represents the "inflection point" position.
5. During the coating process of the coating machine, it is forbidden to adjust the range of the film thickness gauge except that the process needs to be adjusted.
6. Please read this manual carefully before connecting the line and using the light control system. Incorrect connection lines will damage the main components of the film thickness gauge, computer, A/D card and other instruments.